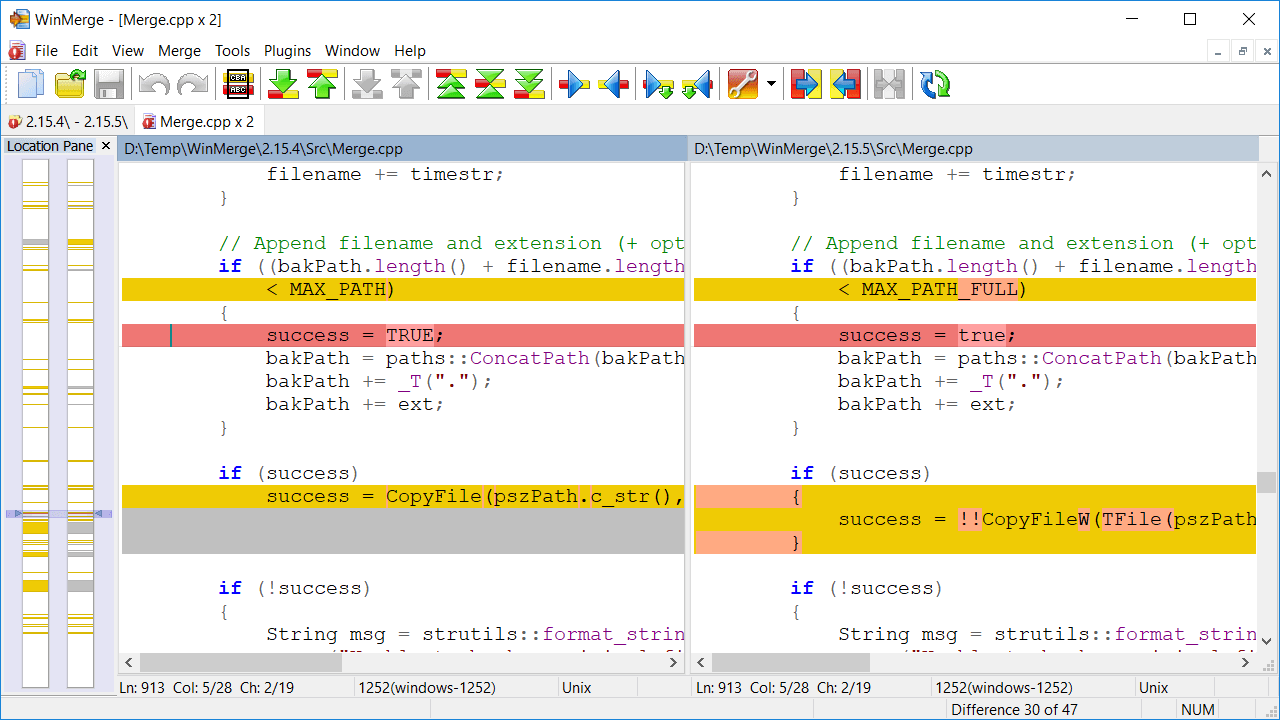
WinMerge は、Windows 用のオープン ソースの差分およびマージ ツールです。WinMerge は、フォルダーとファイルの両方を比較し、違いを理解して扱いやすい視覚的なテキスト形式で表示します。この記事でWinMerge のセットアップと使う方を教えます。
source: https://winmerge.org
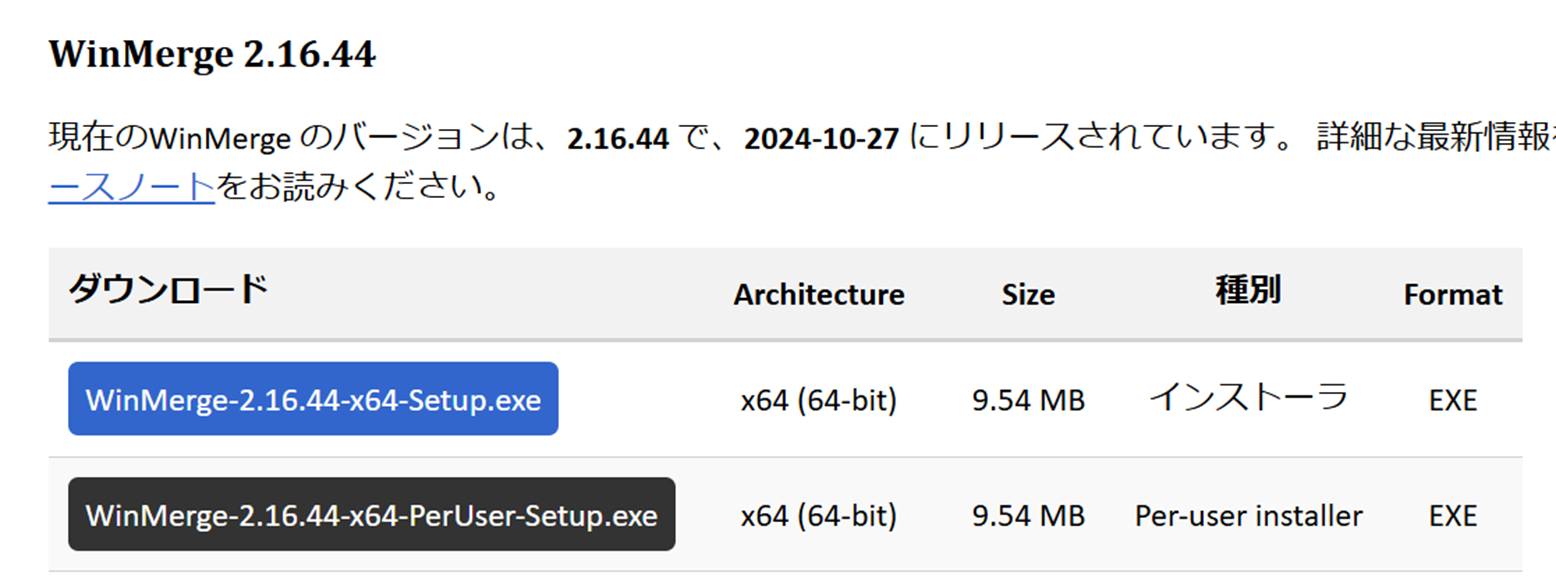
WinMerge をダウンロード
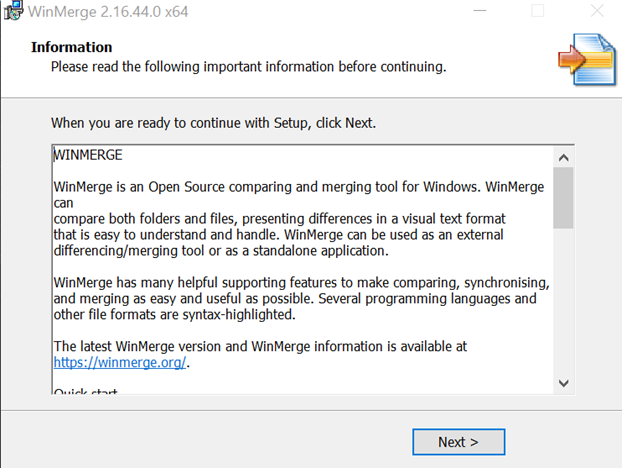
WinMerge のウェブサイトに行って、「WinMerge-2.16.44-x64-Setup.exe」ボタンを押し、WinMerge 2.16 をダウンロードしてください。
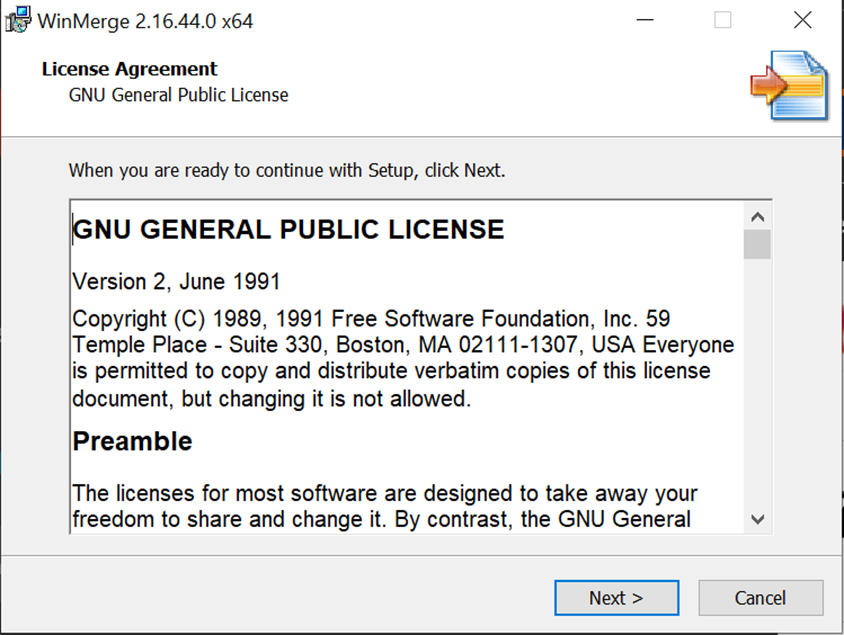
WinMerge をインストール
ダウンロードされたソフトウェアをクリックし、ポップアップ画面で「Next」を押してください
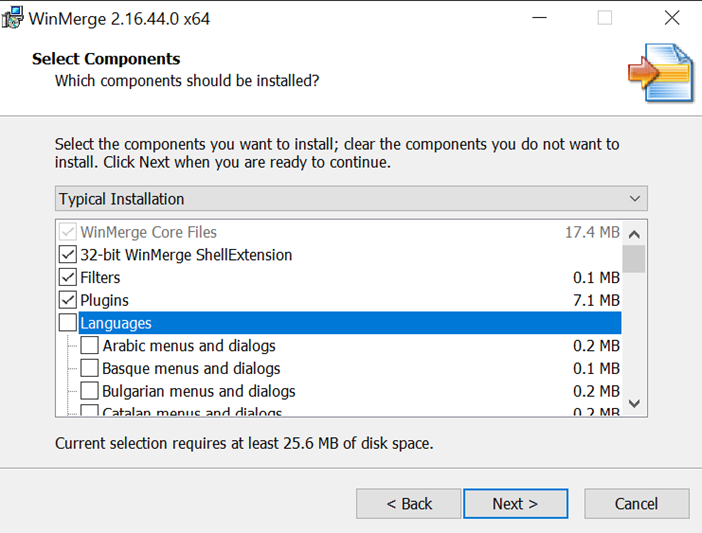
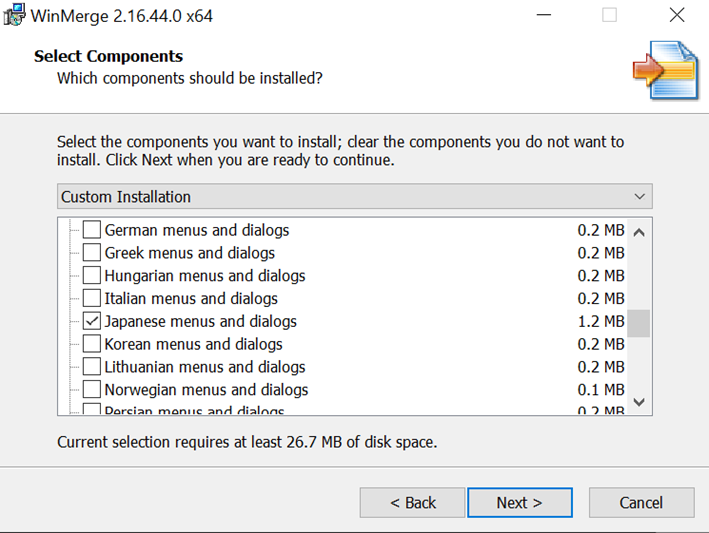
「Languages」部分をスクロールダウンし、「Japanese menus and dialogs」を選択し、「Next」ボタンを押してください
ターミナル等からも WinMerge をアクセス出来ようにする為に「Add WinMerge folder to your system path」オプションを選択し、希望によって他のオプション選択してください
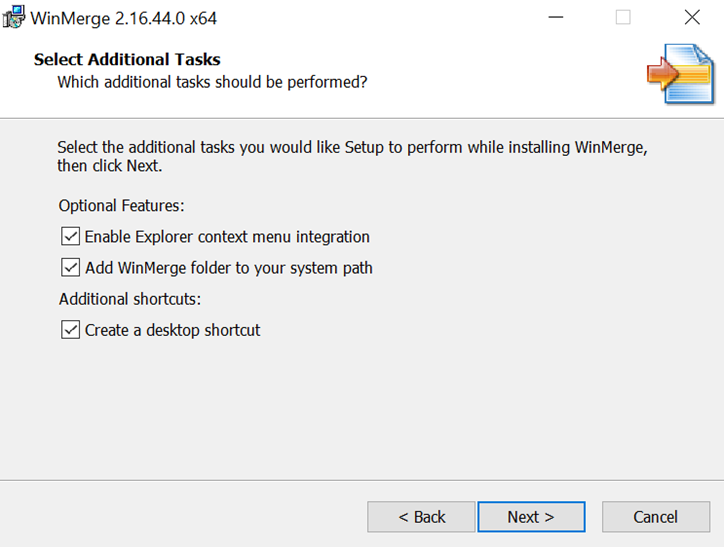
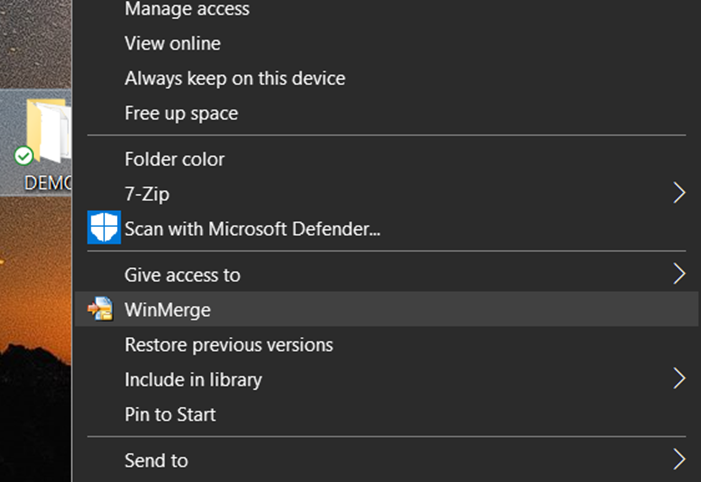
「Enable Explorer context menu Integration」オプションを選択したら、フォルダ/ファイルを右キリックし、コンテクストメニューから WinMerge を開くようになります。
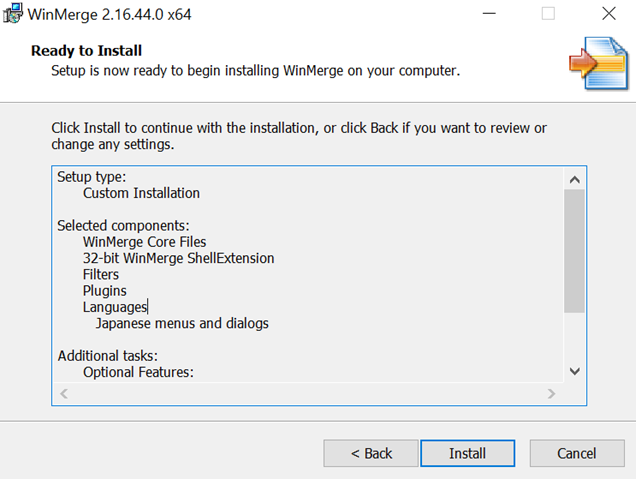
「Install」ボタンを押し、「Next」ボタンを押し、その後、「Finish」ボタンを押してください

言語を日本語にする
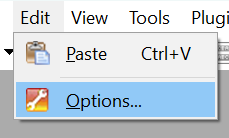
もし WinMerge の言語が日本語じゃなくて、英語なら、「Edit」タブから「Options」を押してください。
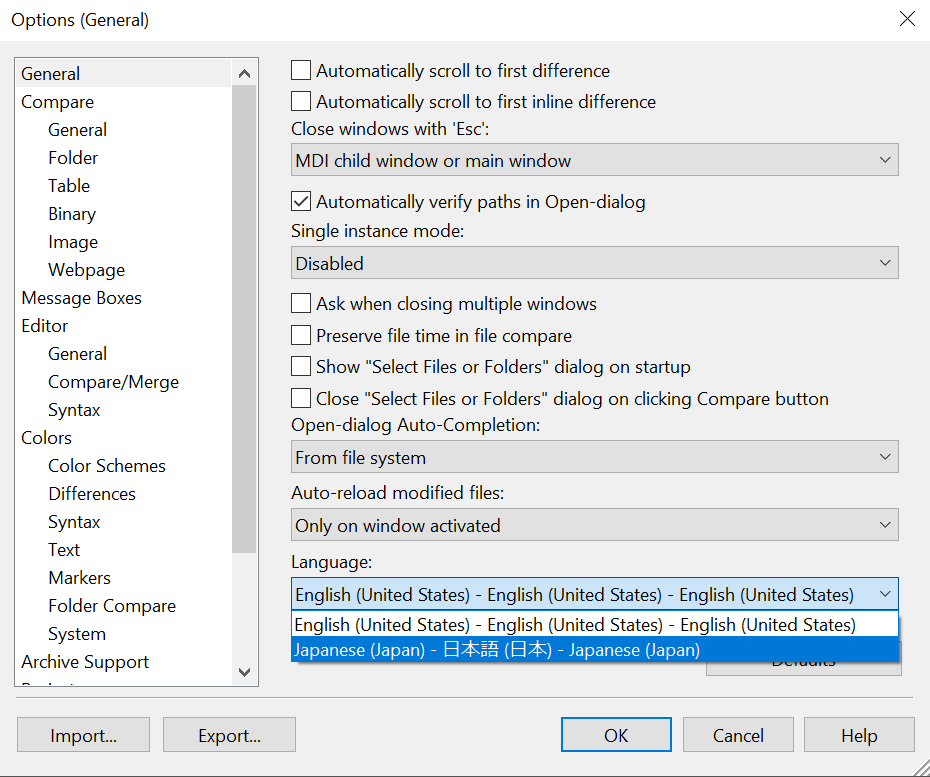
ポップアップ画面で右側の下にある「Languages」と言うドロップダウンメニューから日本語を選択し、「OK」ボタンを押してください
WinMerge を使う方
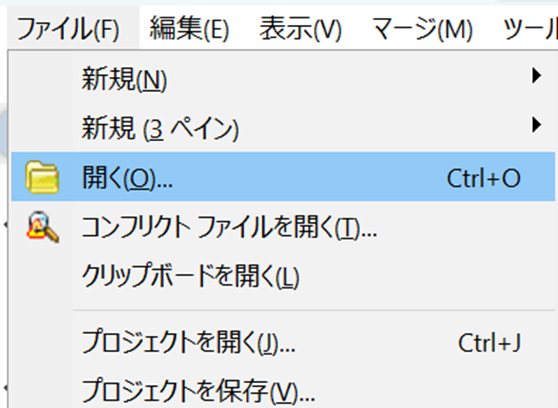
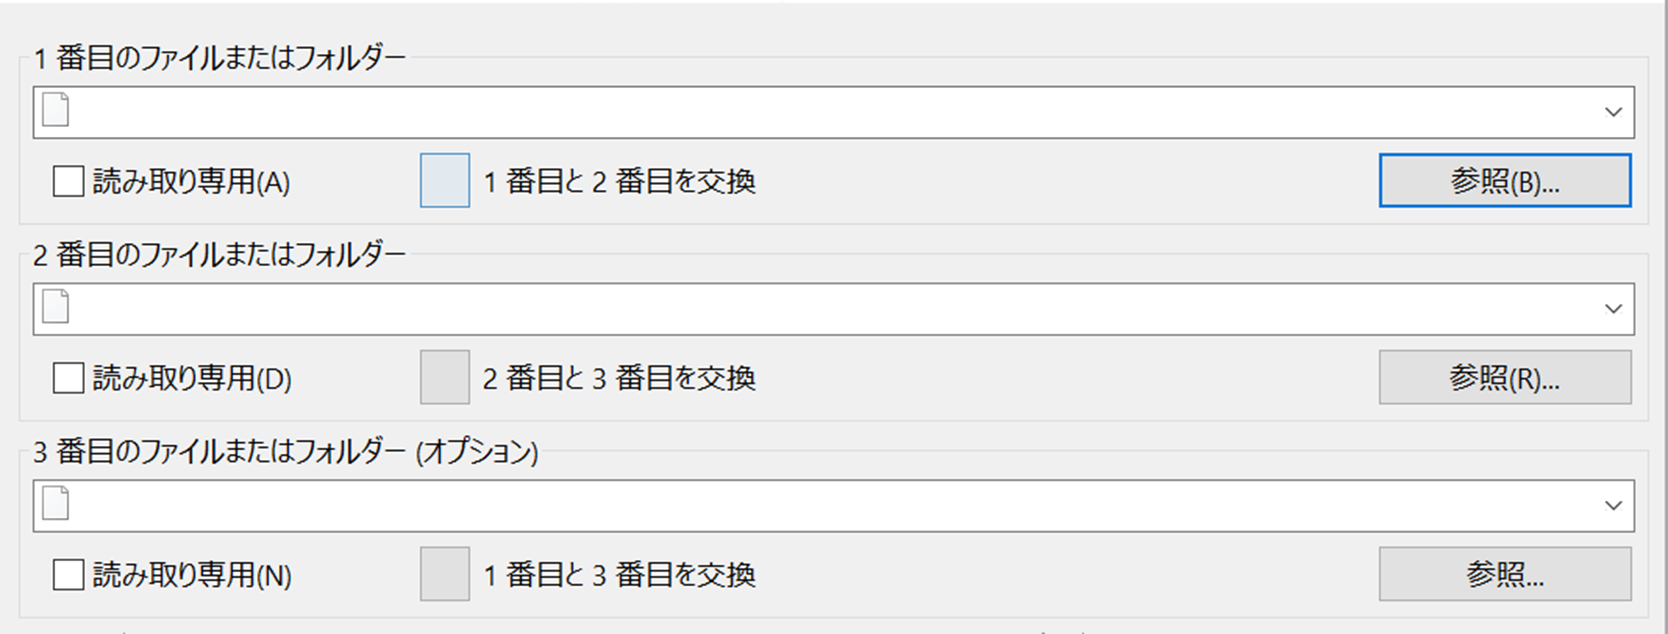
「ファイル」タッブから「開く」を押し
参照ボタンを押し、比較したいフォルダ・ファイルを指定
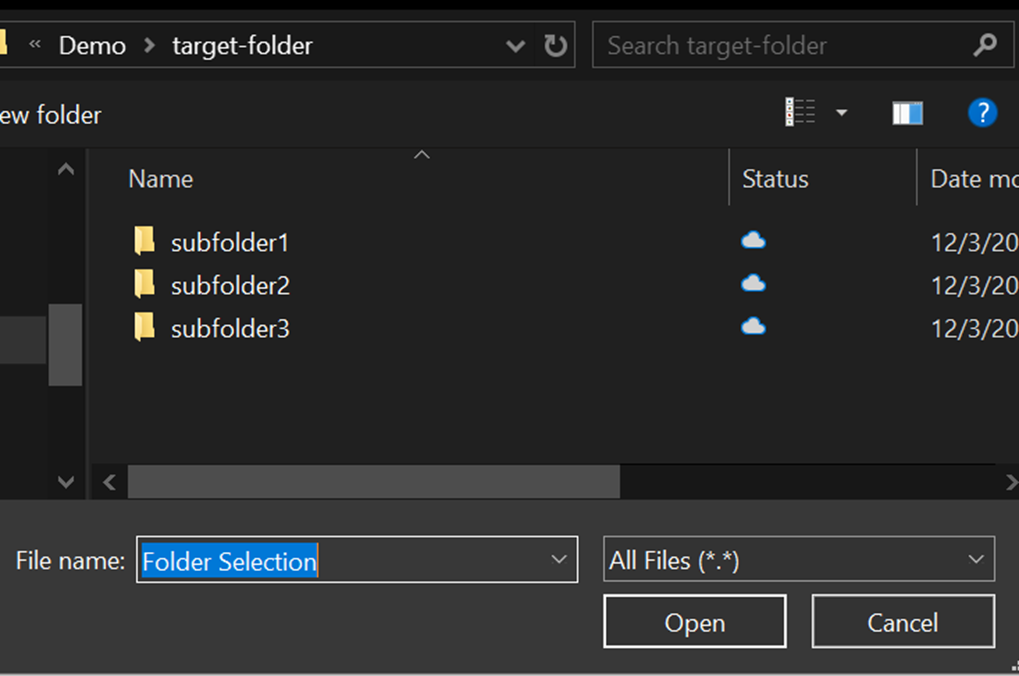
比較したいフォルダを指定する方法:
ポップアップ画面から対象のフォルダーを選択し、「Open」を押してくだい
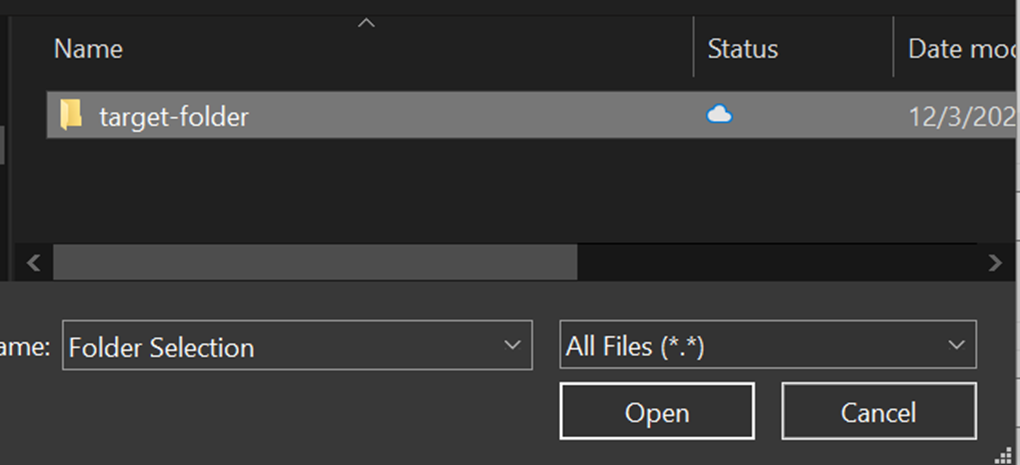
何も選択しないで、「Open」を押してくだい
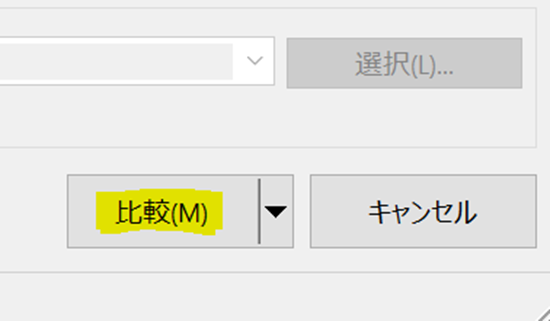
右側下にある「比較」ボタンを押し
今 WinMerge を使えます。でも、もっと効果的に使う為にちょっとカスタマイズしましょう。
WinMerge をカスタマイズ
「表示」タッブから「右側のみに存在する項目の表示」を選択し、「同一項目の表示」を選択解除してください

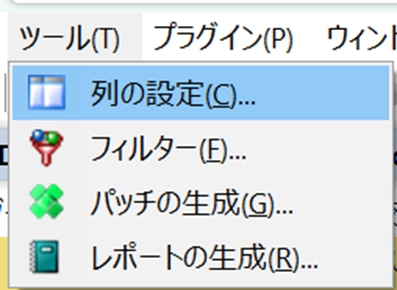
「ツール」タッブから「列の設定」を選択
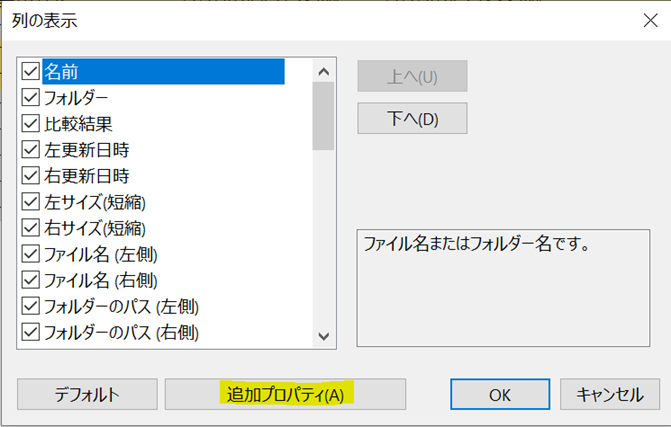
「追加プロパティ」を押し
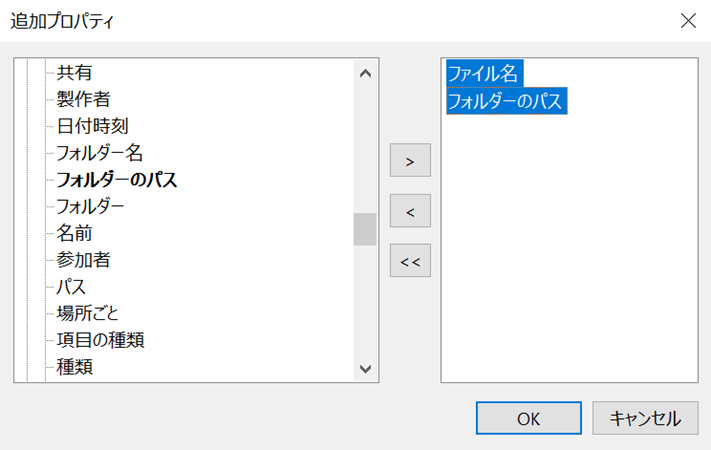
ファイル名とフォルダのパスを右側にして、OK を押し
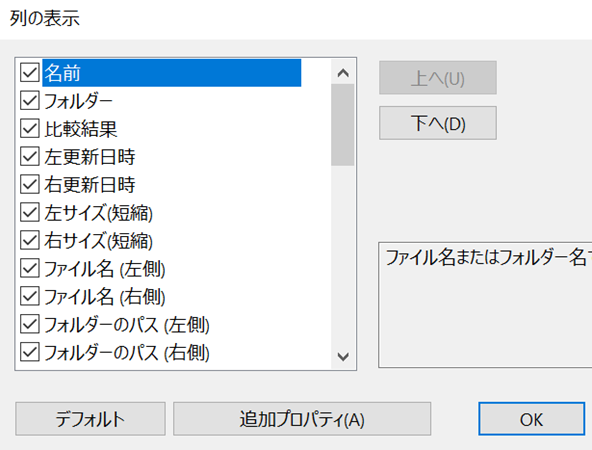
下に見せられているように 11 項目を選択し、「OK」を押し
比較の例
タスク: プロジェクトのソース コードを 11 月から 12 月まで比較し、何が変更されたかを確認
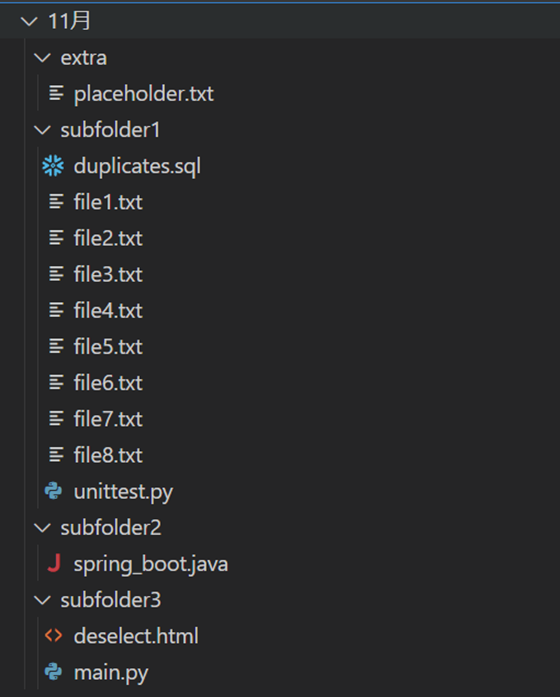
11月のソースコード:
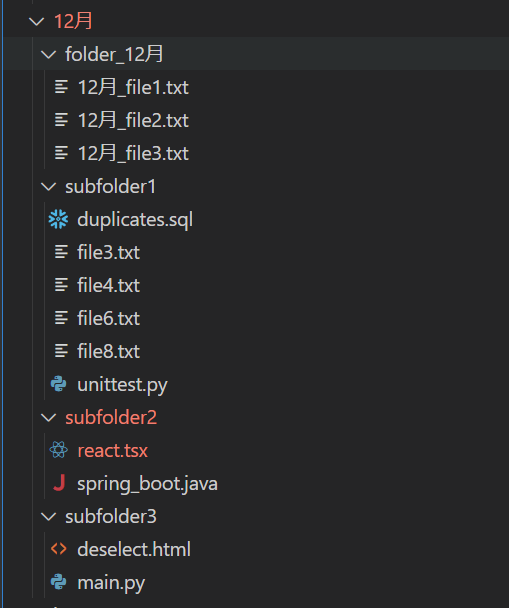
12月のソースコード:
実際は違いは 5 つあります(以下のリストをご覧ください)。WinMerge を使用してそれらを見つけてみましょう。
-
両方でもある「subfolder1」フォルダで12月のバージョンでは以下の5つファイルを削除された:
- file1.txt
- file2.txt
- file5.txt
- file7.txt
-
両方でもあった「extra」フォルダが12月のバージョンでは削除された
-
12月のバージョンでは新しい「folder_12月」と言うフォルダと中に以下の三つのファイルが作成された:
- 12月_file1
- 12月_file2
- 12月_file3
-
両方でもある「subfolder2」フォルダに12月のバージョンでは以下の新しいファイルが作成された
- react.tsx
-
両方でもある「subfolder3」フォルダに12月のバージョンでは以下の二つのファイルが更新された
- main.py
- deselect.html
比較:
11 月のフォルダは「左側」、 12 月のフォルダは「右側」です。
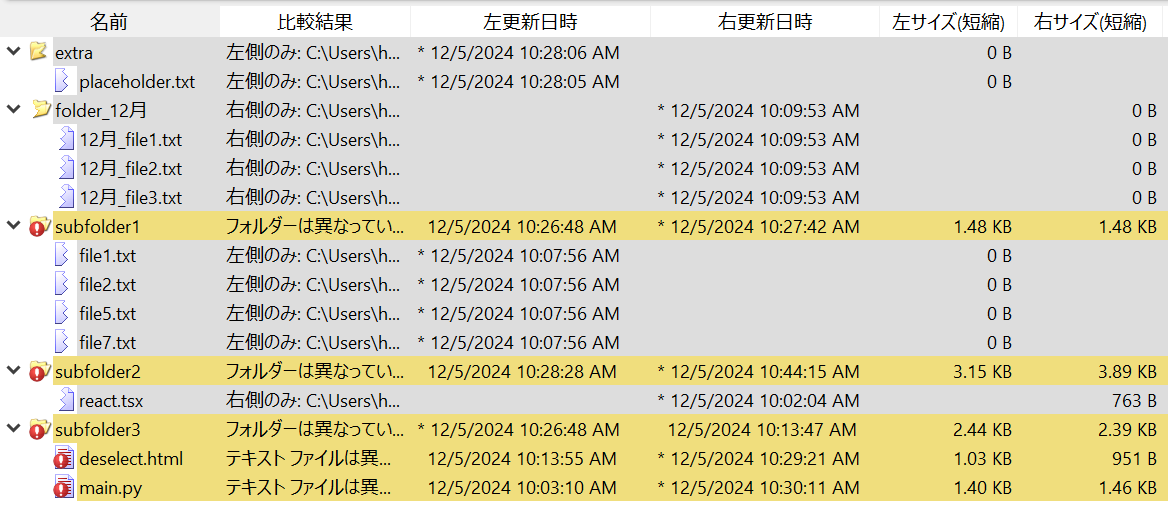
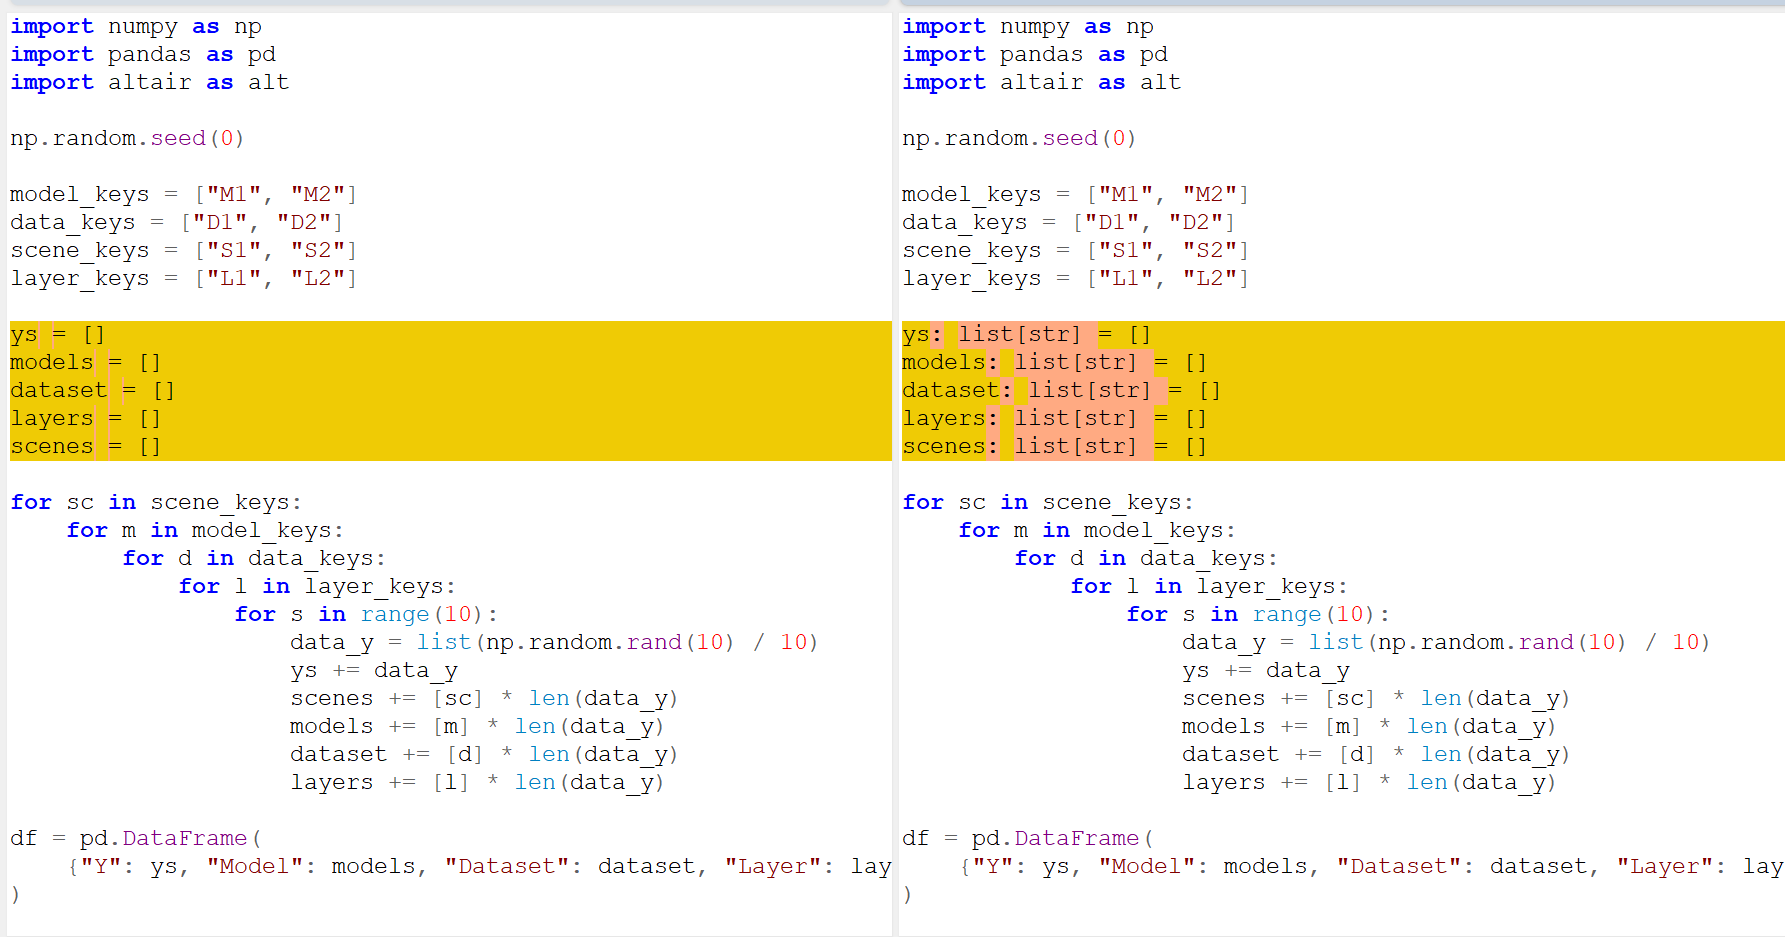
ファイルの内容の違いさを見る為にファイル名を押したら、両方のバージョンが開かれて、違う部分の行と分がハイライトされます。
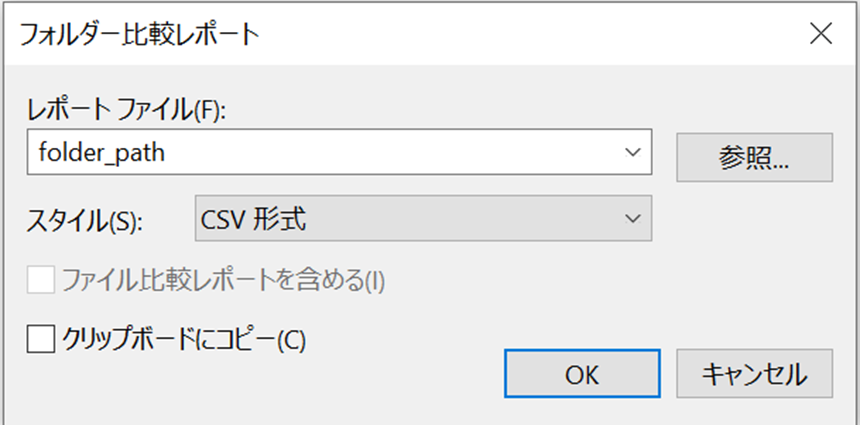
CSVのレポートを出す
比較の後、「ツール」タッブから「レポートの生成」ボタンを押し

CSV ファイルを保存したい場所を指定し、ファイルの形を CSV にして、「OK」ボタンを押してくだい
WinMergeに関しましてもっと情報を以下のページであります。
https://manual.winmerge.org/jp/
以上です。この記事を読んでくれてありがとうございました。
Comments
Post a Comment